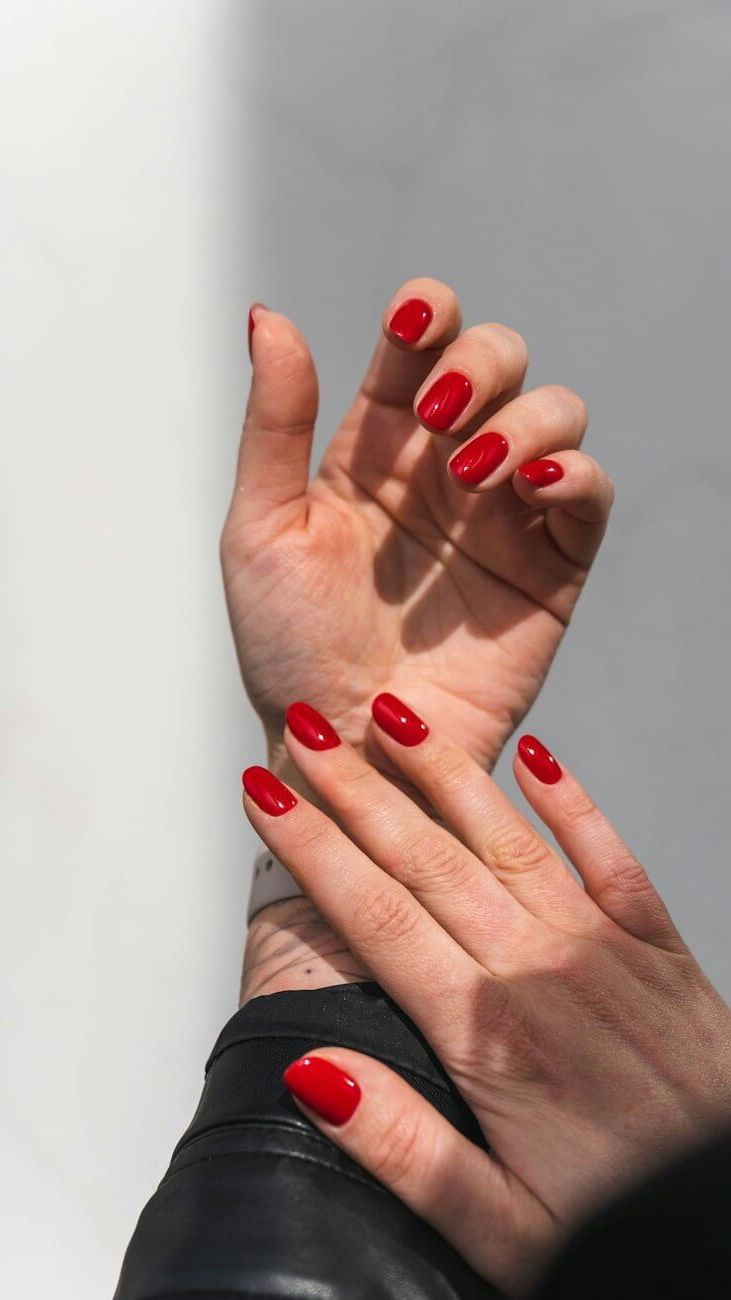
How to make a manicure last through a busy holiday season
How to make a manicure last through a busy holiday season
Holiday weeks are hard on hands. Wrapping paper edges, hot dishwater, oven racks, suitcase zips and stubborn packaging all chip at a fresh manicure, usually right before the party you painted your nails for.
A manicure lasts through that stretch when three things go right: the nail is clean and dry before the first coat, the colour goes on in thin layers sealed over the tip, and your hands get some protection from water and friction afterwards. Timing matters too. Paint your nails a day or two before the busiest week starts, so the varnish has hardened all the way through and you still have time to fix a chip.
Choose manicure tools and a finish that forgive wear
For a manicure at home, a basic manicure set covers most of the work: clippers, a nail file, a soft buffer and a cuticle pusher. Add a base coat, your colour, a top coat, nail varnish remover, lint-free wipes or cotton pads, and cuticle oil. A glass or fine-grit file is worth having, because it leaves a smooth edge; a coarse emery board can leave a ragged tip that peels and snags on jumpers.
Pick the finish with the season in mind. Sheer pinks, nudes and soft neutrals show chips and regrowth far less than deep red or navy. A French tip manicure on a sheer base also suits the season, because regrowth at the cuticle is less visible, though a chipped white tip does show. Shimmer and fine glitter also hide small flaws.
A gel manicure is the longer-lasting option. Gel varnish cures under a UV or LED lamp into a harder film, and it often holds for two weeks or more without chipping. Removing gel safely takes acetone and patience, so choose it only if you'll have time to take it off properly after the holidays.
Prep the nail so the varnish can grip
Early chipping often starts with what's on the nail before the base coat goes on. Oils, lotion and water all stop varnish from bonding, so work through these steps in order:
- Remove all old varnish, including the residue that collects along the sides of the nail.
- Shape each nail by filing in one direction, from the side toward the centre. A softly rounded or squoval shape holds up better than sharp square corners, which catch and break.
- Push back your cuticles gently after a shower or a short soak, then let your nails dry completely. Nails absorb water and swell slightly, and varnish applied to damp nails can lift as they shrink back.
- Give the surface one light pass with the buffer to take off shine and smooth ridges. Heavy buffing thins the nail, which makes it bend and crack the varnish.
- Wipe each nail with nail varnish remover or rubbing alcohol to strip away oil and hand cream. Save the cuticle oil for the end.
Apply thin coats and seal the tips
Thin layers help varnish stay put. A thick coat dries on the surface but stays soft underneath, so it dents under a sheet or wrinkles when you bump it hours later.
- Brush on a thin base coat and keep it off your skin; varnish that touches the cuticle lifts from there.
- Apply two thin coats of colour rather than one heavy one. Roll the bottle between your palms instead of shaking it, which traps air bubbles that later turn into pits.
- Cap the free edge: after each coat, run the brush lightly along the very tip of the nail. This wraps the edge, where chips often begin.
- Finish with a top coat, capping the edge again. Regular varnish feels dry within minutes but stays soft for hours, so skip hot water, tight gloves and fiddly tasks for the rest of the evening. Once the surface is dry to the touch, massage cuticle oil around each nail.
Protect the finish through cooking, wrapping and travel
The days after the manicure decide how long it lasts. A few habits make the biggest difference during a busy week:
- Wear rubber gloves to wash dishes, scrub pans or clean. Hot water and detergent soften varnish and swell the nail underneath it.
- Use scissors, a key or the pads of your fingers to open boxes, peel tape and scrape labels. Using your nails as tools is the quickest way to lose a tip.
- Add a fresh layer of top coat every two to three days, capping the edge each time.
- Rub in cuticle oil or hand cream at night. Cold, dry air makes nails brittle, and brittle nails flex the varnish off.
If you're travelling, pack a small kit with a file, your top coat, the matching colour and remover pads, and check the airline and security rules on carrying varnish and remover before you fly.
Mistakes that cut a manicure short
Peeling off a gel manicure is a mistake worth avoiding. Gel bonds tightly, and pulling it up takes the top layers of your nail with it, leaving nails thin, white and bendy for weeks. Gel manicure removal works better with a gentle routine: file away the shiny top layer, soak cotton pads in acetone, wrap each fingertip in foil, and wait roughly ten to fifteen minutes before pushing the softened gel off with a wooden stick. If it resists, soak again rather than scraping.
With regular varnish, the common mistakes are smaller but add up. Painting right after using hand cream leaves a film that weakens the bond. Dabbing thick colour over a chip creates a lump that catches and lifts; smooth the edge with a file first, then fill in with a thin layer and top coat the whole nail. Tonight, start by clearing a table, setting out your tools and wiping every nail clean before the first coat.